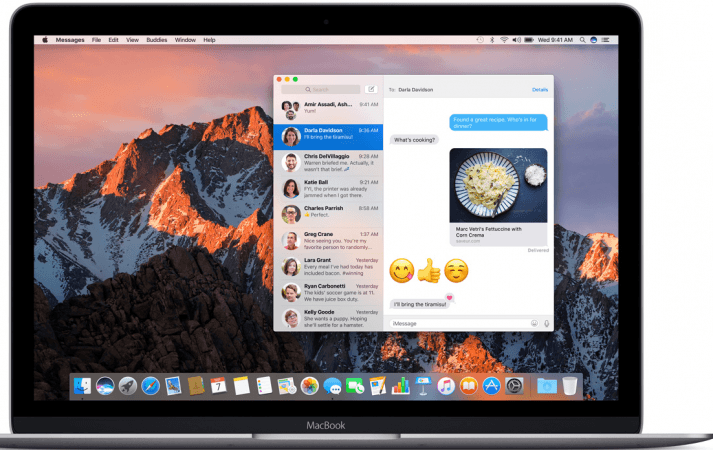
As Apple gets ready to publicly release the MacOS Sierra a.k.a MacOS 10.12 on September 20, it is also imperative for you to prepare your Macs for the latest OS update apart from resorting to a clean-installation of the newest Apple OS. Apple's MacOS Sierra is best installed through a bootable USB drive or through an external hard disk by first making these devices ready for Sierra.
Using the guide below, you can prepare both your installation media and computer ready for Apple MacOS Sierra, along with clean-installing the new OS 10.12 update. Check out the steps below:
Making a USB flash drive bootable and MacOS Sierra compatible in order to clean install MacOS Sierra 10.12 update within Macs:
Pre-requisites: Before you begin making your USB flash drive bootable here are certain pre-requisites that need to be mandatorily met:
- A 16GB USB flash drive with no stored content whatsoever
- A Mac computer that is eligible to receive MacOS Sierra 10.12
- Mac App repository
Actual process:
- Launch the Mac App repository and download the Sierra 10.12 installation app. You can download the app named Install macOS Sierra.
- Physically interface your USB drive to the computer. After the hardware is detected, launch Disk Utility app and format the drive.
- Rename your flash drive, in the window that is displayed and choose format as OS X Extended (Journaled) and scheme as GUID Partition Map. Then choose Erase to format your flash drive.
- After format, launch Terminal from within /Applications/Utilities.
- Key in these commands into Terminal. Be careful of the syntax of these commands as any error tends to abort the entire process of making your USB drive bootable thereby rendering your hardware corrupt. Enter these commands:
udo /Applications/Install macOS Sierra.app/Contents/Resources/
createinstallmedia –volume /Volumes/Untitled –applicationpath /Applications/Install macOS Sierra.app –nointeraction &&say Done
- Keep your administrator password handy and key this in when a message asks you to do so.
- Finally, after a series of commands are displayed, you should be able to see the message Done at the end of the Terminal window. This indicates successful creation of a bootable USB flash drive.
After execution of the above processes, you can clean install Apple's MacOS Sierra. Check out how to perform a clean installation of MacOS Sierra, below:
- Connect the bootable USB flash drive to your Mac.
- Power-off your computer, turn on again and press option and alt buttons.
- After Step 2, select the USB device that is displayed at the right hand side of the screen. Click the UP arrow.
- Then, go to the menu bar and select Utilities > Disk Utility.
- Choose the appropriate hard drive and select Erase. Here, choose the Mac OS Extended Journaled format.
- Clear the contents of the hard disk.
- Finally, follow simple on-screen instructions to complete clean-installation of MacOS Sierra.


