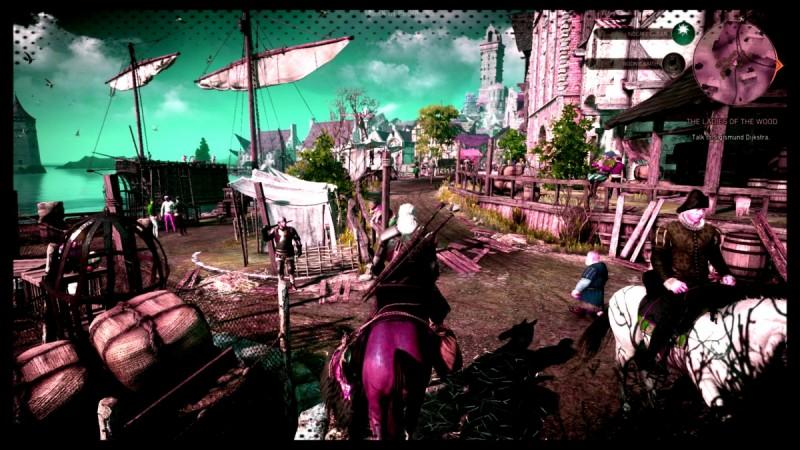
One of the best things about Witcher 3 is the ability to craft your own arsenal of weapons and fire-power that you can use against any enemy – human or otherwise – in the massive world.
As far as the weapons in Witcher 3 are concerned, there's a hefty supply of different kinds of bombs, which can be crafted as required.
Moreover, it's actually a good idea to collect as many bomb diagrams as possible and craft them, since there are a number of enemies in the world who will show weakness toward a certain kind of bomb when you confront them. And this guide will notify you on all the bomb diagram locations and how to craft them.
Bomb Diagram Locations
Before we begin, it's almost imperative to keep in mind that each of the bombs can only be crafted if you manage to find the diagram for it, showing you how to. While all the eight diagrams can be found in a single location, it must also be noted that each bomb has an Enhanced as well as a Superior version, and may not be found in the same location.
To find all the eight diagrams, you will need to fast travel to the Herbalist's Hut Signpost to the northeast of Oxenfurt. In case you don't have that Signpost unlocked, you could also fast travel to the Novigrad Gate and head northeast.
When you arrive at the location, speak with the Herbalist and buy all eight Diagrams for the basic Bombs that you will require for your journey. These include the Dancing Star, Devil's Puffball, Dimeritium Bomb, Dragon's Dream, Grapeshot, Samum, Moon Dust and Northern Wind. In total it will cost you about 2,000 Crowns.
Bomb Type – Dancing Star
The most common usage of the Dancing Star bomb type is to get rid of monster nests. And provided, you are already knee deep into the new Witcher, you should know by now that destroying a monster nest pays well via the loot that you can acquire by destroying them. The Dancing Star is known to produce a sweltering detonation, making it a strong option against anything that is susceptible to the Igni Magic Sign.
Bomb Type – Dimeritium Bomb
With the Dimeritium Bomb, you can easily block the monster-based magic abilities in the game. The Dimeritium Bomb is also a great choice against Elemental enemies such as Earth Elementals, Fire Elementals, Djinns and Gargoyles.
Word of advice: Stack up on the Dimeritium Bomb before you head over to the Skellige Isles.
Bomb Type – Grapeshot
If you have played The Witcher 3 thoroughly, you should know that the Grapeshot type is the most commonly used bomb in the game due to its shrapnel damage ability. While you can deploy them to destroy monster nests, they are also of major use against Hybrids such as Sirens and Griffins. You could try mixing up the Grapeshot type with the Aard Magic Sign for more effective results.
Bomb Type – Dragon's Dream
The Dragon Dream type works out against a number of enemies in the game, although its effects are majorly amplified when combined with the Igni Magic Sign. On deploying, Dragon's Dream releases a cloud of gas that will explode when ignited. You could also use it against an enemy if they are standing close to fire.
Bomb Type – Devil's Puffball
On detonating a Devil's Puffball type, it will release a cloud of poison. Although this type may not be that effective for clearing out monster nests, they can still be a major deal against the Cursed Ones – Werewolves and Berserkers. So the next time you run into these kinds, equip the Devil's Puffball as soon as possible to deliver the maximum damage.
Bomb Type – Moon Dust
The best use of the Moon Dust type is against Spectars – Nightwraiths, Hyms and other types that have the ability to transform. This is because this bomb type stops the opponent from transforming.
Word of advice: Try mixing Moon Dust with the Yrden Magic Sign.
Bomb Type – Northern Wind
As the name suggests, the Northern Wind type, when deployed, will freeze your enemies. You can use this type well against a number of Elementals, Hybrids and Necrophages.
Bomb Type – Samum
While the Samum Bomb type is effective against monster nests, it's better to hold on to them for other productive uses. For instance, in the game's story, you can utilise the Samum type to blind Imlerith.
[Source: Prima Games]


