WPS or Wi-Fi Protected Setup is a feature through which you can connect your devices to a wireless router without having to enter the security passphrase.
It is a quick and easy way by which you can connect to your wireless router without having to memorize a long, random passphrase but is an insecure and broken method which can easily be hacked even though you have set a secure passphrase.
WPS consists of a pin which consists of 7 digits only. 7 unknown digits can have only 9,999,999 possibilities, which can be attempted by a system in just a few hours.
Once the pin has been discovered, that PIN can be used to find the passphrase of the router. So, WPS can easily be brute-forced and hacked to get access to your wireless network.
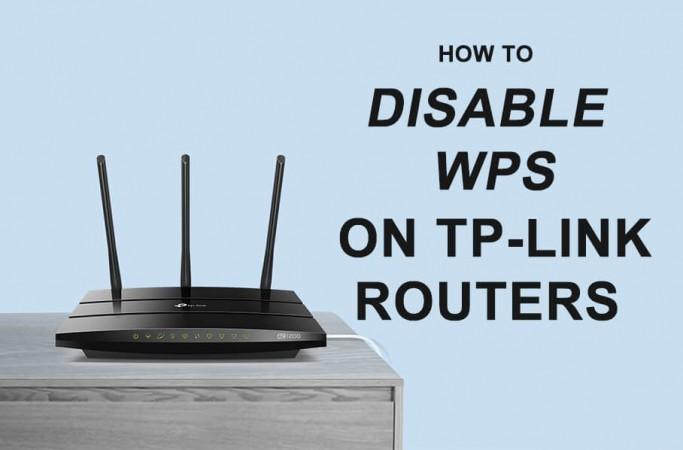
How To Disable WPS on TP-Link Routers?
Here is how you can disable the WPS feature on your TP-Link Routers to protect your wireless network.
- Open a web browser.
- In the address bar, type the default gateway address for TP-Link routers, i.e 192.168.1.1 or tplinkwifi.net.
- A login webpage will appear. Login using the default username and password. The default username and password for TP-Link Routers is admin and password, respectively if you haven't changed it.
- Once you are logged in into the admin panel, go to the Interface Setup page.
- Now, click on the Wireless Section.
- Scroll down and look for the Use WPS option. Select No next to it.
- Now, click on the Save button to save the changes.
Once you do so, WPS will be disabled for your TP-Link Router. You won't be able to connect to your TP-Link Router using WPS but your router will also be protected against hackers as WPS is very vulnerable to being
Modern Routers limit WPS PIN attempts and if there are several failed attempts then the router just lockouts WPS connection through router's PIN and thus protecting against brute-forces.